I can't help it. I've gotten caught up in the washi tape craze. One look at pinterest and you can see all the cool things you can do with it.
I was bored the other night and decided to decorate the back of my tablet. I want to redo it when I have some more time. But not bad for a first time.
Showing posts with label gadgets. Show all posts
Sunday, July 22, 2012
Friday, May 4, 2012
I'm bouncing around the apartment and squealing. I've been lusting after a serger for some time now. It would be great to have with all the clothing I'm making for myself and others.
I know Ben had been setting money aside to get me one, but my mother is visiting and decided to cover the rest of the cost.
It should be here in a week and I was so excited I started crying. Now to buy some thread cones.
I know Ben had been setting money aside to get me one, but my mother is visiting and decided to cover the rest of the cost.
It should be here in a week and I was so excited I started crying. Now to buy some thread cones.
Saturday, March 10, 2012
No Sew Book Cover for a Tablet Computer
I'm excited about finally being able to get a tablet computer. I'm even more excited about making some awesome covers for my new tablet.
I've seen a ton of cool book covers, some required me to put Velcro on the back of my tablet. Others wanted me to use something called "sugru". So I made one for myself.
You can use this tutorial for any size tablet or eReader.
My tablet measures 10.1" x 6.9" x 0.34"
I wanted to get a book that would fit so I looked for something approximately 11" x 7.5" x 1".
I'm rather particular about which book I was using even though I was covering it with fabric. This book was so appropriate, not only was it a Southern cookbook but it was my for my birth year. $2.99 at Goodwill, can't beat that.
These are the supplies you'll need:
Book to fit your tablet or eReader
Fabric (1/2 yard should be more than enough)
Chipboard (if you have an old binder you can cut this out of the front and back. Otherwise look for "MatteBoard" in an art store)
Elastic
Crafting Glue (such as E600)
Batting (optional)
Xacto/Box cutter
Start by cutting the pages out of the book. You can use those for wrapping paper or other projects. I saved mine since it had some good recipes.
Open up the book and measure the fabric around the outside. Measure and cut an inch larger all the way around. Fold the extra inch of fabric to the inside of the book and glue it down. Give special care to your corners.
Measure a piece of fabric about and inch longer spine of the book and twice as wide. Center this on the inside of the spine and glue down. Take the top and bottom ends, fold them over and glue them under. You should have some overlap on either side of the spine.
Now take your chip board and cut 2 pieces the size of the front and back cover. Cut 2 pieces of batting the same size at the chip board. Then cut 2 pieces of fabric an inch larger around than the chip board.
Cut 4 equal pieces of elastic. Length depends on size of your tablet/eReader.
You are only attaching elastic to 1 of the inner pieces, this will be used on the inside back (right hand side) of the book.
Start with 1 set of inner cover pieces. Lay the fabric face down. Center the batting and then the chipboard on top of it. fold the edge around the same way you did with the outside of the book and glue them down. The edges of the elastic will come around to the back of the chip board.
After I had the fabric on I added the elastic to the corners. Make it go around the corners. I secured it to the chip board with staples.
Repeat for the other inner cover but don't add elastic. You can add a shorter layer of fabric first to give yourself a pocket. (I sewed the 2 pieces of fabric together to make them a bit more secure but you don't have to).
Glue the inner pieces to the inside of the book. If you have wax paper put it down and put a heavy book on it to help the glue adhere securely.
You're done. Check out how cool your tablet/eReader looks in it's new cover.
I've seen a ton of cool book covers, some required me to put Velcro on the back of my tablet. Others wanted me to use something called "sugru". So I made one for myself.
You can use this tutorial for any size tablet or eReader.
My tablet measures 10.1" x 6.9" x 0.34"
I wanted to get a book that would fit so I looked for something approximately 11" x 7.5" x 1".
I'm rather particular about which book I was using even though I was covering it with fabric. This book was so appropriate, not only was it a Southern cookbook but it was my for my birth year. $2.99 at Goodwill, can't beat that.
These are the supplies you'll need:
Book to fit your tablet or eReader
Fabric (1/2 yard should be more than enough)
Chipboard (if you have an old binder you can cut this out of the front and back. Otherwise look for "MatteBoard" in an art store)
Elastic
Crafting Glue (such as E600)
Batting (optional)
Xacto/Box cutter
Start by cutting the pages out of the book. You can use those for wrapping paper or other projects. I saved mine since it had some good recipes.
Open up the book and measure the fabric around the outside. Measure and cut an inch larger all the way around. Fold the extra inch of fabric to the inside of the book and glue it down. Give special care to your corners.
Measure a piece of fabric about and inch longer spine of the book and twice as wide. Center this on the inside of the spine and glue down. Take the top and bottom ends, fold them over and glue them under. You should have some overlap on either side of the spine.
Now take your chip board and cut 2 pieces the size of the front and back cover. Cut 2 pieces of batting the same size at the chip board. Then cut 2 pieces of fabric an inch larger around than the chip board.
Cut 4 equal pieces of elastic. Length depends on size of your tablet/eReader.
You are only attaching elastic to 1 of the inner pieces, this will be used on the inside back (right hand side) of the book.
Start with 1 set of inner cover pieces. Lay the fabric face down. Center the batting and then the chipboard on top of it. fold the edge around the same way you did with the outside of the book and glue them down. The edges of the elastic will come around to the back of the chip board.
After I had the fabric on I added the elastic to the corners. Make it go around the corners. I secured it to the chip board with staples.
![]() |
| I ended up having to redo the elastic and have it higher up to hold my tablet |
Repeat for the other inner cover but don't add elastic. You can add a shorter layer of fabric first to give yourself a pocket. (I sewed the 2 pieces of fabric together to make them a bit more secure but you don't have to).
Glue the inner pieces to the inside of the book. If you have wax paper put it down and put a heavy book on it to help the glue adhere securely.
You're done. Check out how cool your tablet/eReader looks in it's new cover.
![]() |
| You can barely tell there is a pocket on the left side. |
Wednesday, February 1, 2012
Don't throw away that plastic bottle
I love reusing things. I love Mod Podge. So when I found a tutorial that allowed me to put those 2 things together I was excited.
Turn your lotion bottle in to a cell phone holder. What a nifty idea.
I had to make one for visiting guests who always charge their cell phones in our kitchen plugs. None of my lotion or baby wash bottles were empty so I used a baby powder bottle.
It worked well and provided me with space for my camera and charger. It makes those plugs on the kitchen counter so much more useful. Now I can use the plug in the corner and still reach my camera. As an added bonus I don't have to worry if the counter gets wet because my electronics are charger in their holder.
These would make great gifts and are easy to personalize. I used glow in the dark Mod Podge on mine for something extra fun.
Turn your lotion bottle in to a cell phone holder. What a nifty idea.
I had to make one for visiting guests who always charge their cell phones in our kitchen plugs. None of my lotion or baby wash bottles were empty so I used a baby powder bottle.
It worked well and provided me with space for my camera and charger. It makes those plugs on the kitchen counter so much more useful. Now I can use the plug in the corner and still reach my camera. As an added bonus I don't have to worry if the counter gets wet because my electronics are charger in their holder.
| Fits perfectly above my vitamins |
These would make great gifts and are easy to personalize. I used glow in the dark Mod Podge on mine for something extra fun.
| How fun is that? |
Thursday, July 14, 2011
A special place for my new machine.
Since we originally thought we were moving so much of our home has been in boxes. It was only recently I let Ben convince me to take my sewing machine out of the box so I could craft and not go nuts. We don't know if we're going to move so we're both reluctant to unpack but I got tired of look at my embroidery machine on the floor in its box.
It was taking up space in between my fabric and our printer so I figure why not get a table for it and actually be able to use it. We went to Savers (great store) and I found a vintage telephone table.
It was missing the drawers, the price was certainly right, but the color was all wrong. The dark wood just didn't have the look I wanted and made the room more dingy.
Lucky me, I've got a ton of paint. Every time I see an offer for a free pint I snap it up. I have about 6 small cans just waiting for projects like this.
Before I painted I sanded down some of the rougher spots and gouges that were in the wood. Ben helped paint and then seal the table. He used a clear spray sealer.
I found some clear contact paper in the closet and Ben put that on the top so I wouldn't scratch up the table.
But since we had put a clear coating on the table the contact paper wouldn't stick. I decided to coat the top with Mod Podge to help protect again scrapes.
I bought a basket at the craft store that came with a pattern to make your own basket liner.
I used one of the fabrics I bought recently at the Portsmouth Fabric company to make a liner that matched the table.
I found a simple basket pattern so I can utilize the spaces for the drawers (I hate wasting space). I matched the fabric to the lining I made for the large basket and used some solid blue for the inside of the basket. The batting I used didn't provide enough stiffness for the baskets so I took a box top, cut it to size and put it on the inside of the baskets. I added some Velcro spots to make sure the box stayed put. It doesn't show from the outside and provides the stiffness the basket needs so it doesn't collapse.
It provides a great spot for all my piping, bias tape and other notions.
It's all done and I love it. What a big change! Now I'm itching to do more furniture finishing projects.
![]() |
| Such a cool table |
It was taking up space in between my fabric and our printer so I figure why not get a table for it and actually be able to use it. We went to Savers (great store) and I found a vintage telephone table.
![]() |
| Can't beat the price |
It was missing the drawers, the price was certainly right, but the color was all wrong. The dark wood just didn't have the look I wanted and made the room more dingy.
Lucky me, I've got a ton of paint. Every time I see an offer for a free pint I snap it up. I have about 6 small cans just waiting for projects like this.
![]() |
| I was looking for an excuse to use this color |
Before I painted I sanded down some of the rougher spots and gouges that were in the wood. Ben helped paint and then seal the table. He used a clear spray sealer.
![]() |
| Ben is a faster painter than I am so he helped out |
I found some clear contact paper in the closet and Ben put that on the top so I wouldn't scratch up the table.
![]() |
| Gratuitous butt shot |
I bought a basket at the craft store that came with a pattern to make your own basket liner.
![]() |
| I love things that come with patterns |
I used one of the fabrics I bought recently at the Portsmouth Fabric company to make a liner that matched the table.
![]() |
| Fabric went perfectly with the paint color I chose |
I found a simple basket pattern so I can utilize the spaces for the drawers (I hate wasting space). I matched the fabric to the lining I made for the large basket and used some solid blue for the inside of the basket. The batting I used didn't provide enough stiffness for the baskets so I took a box top, cut it to size and put it on the inside of the baskets. I added some Velcro spots to make sure the box stayed put. It doesn't show from the outside and provides the stiffness the basket needs so it doesn't collapse.
![]() |
| Oh man I've had this box for a while |
It provides a great spot for all my piping, bias tape and other notions.
It's all done and I love it. What a big change! Now I'm itching to do more furniture finishing projects.
Wednesday, June 1, 2011
I'm not bias, but my tape is.
I like gadgets, but I'm not the kind of girl who has to go get every single nifty thing on the market. After coming across a pattern for a bias tape bag and seeing their tutorial for making bias tape I figured I'd give it a shot. Except I didn't want to use store bought bias tape, I wanted something cuter.
Ben had given me a Jo-Ann's gift card for Mother's Day and I figured this was the perfect time to use it. I bought myself this little beauty and some extra heads so I can change the size of my bias tape.
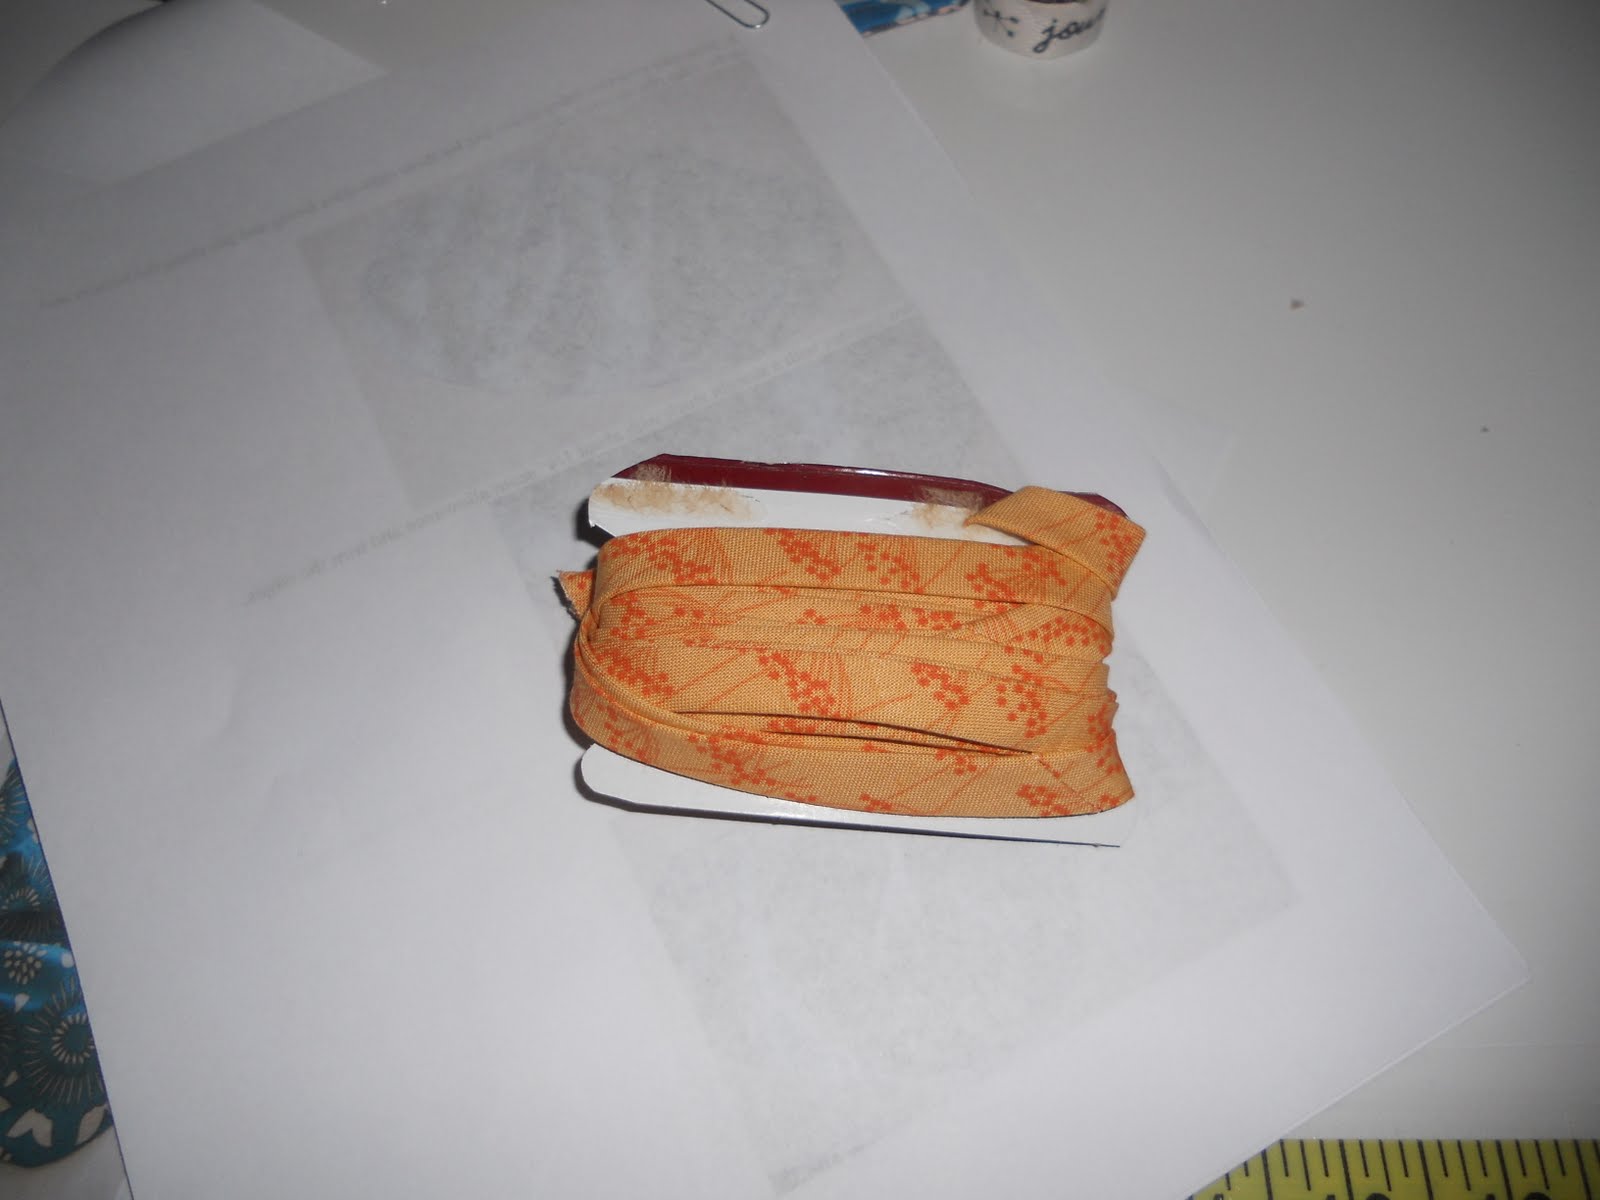
I ended up with my own custom bias tape. I cut up a box to make little cards to wind the bias tape on. This stuff is cuter and cheaper than what you get at the store. I have so many other projects lined up (as you can see by the fabric in the first picture) I can't wait to make more bias tape.
The bag is adorable and the first new bag I've gotten in a while. I mainly use the diaper bag for my things so it's neat to not only have a new bag but one that is reversible as well.
Ben had given me a Jo-Ann's gift card for Mother's Day and I figured this was the perfect time to use it. I bought myself this little beauty and some extra heads so I can change the size of my bias tape.
| Forgive the rest of the mess |
I ended up with my own custom bias tape. I cut up a box to make little cards to wind the bias tape on. This stuff is cuter and cheaper than what you get at the store. I have so many other projects lined up (as you can see by the fabric in the first picture) I can't wait to make more bias tape.
| Home made bias tape |
The bag is adorable and the first new bag I've gotten in a while. I mainly use the diaper bag for my things so it's neat to not only have a new bag but one that is reversible as well.
![]() |
| Ben is very good at capturing my dopey face |
Subscribe to:
Posts (Atom)