Showing posts with label mod podge. Show all posts

Monday, April 2, 2012

Nightstand face lift

We don't have much bedroom furniture but we do have matching nightstands we got at Target several years ago.  They've served us well but I hate the dark color in the bedroom right now.

I found some remnant home decor fabric last year that was really cute. I had no idea what to do with it though.  A few months later I found the same fabric in another color...now I have it in pink and in blue.  I decided to do a his and hers nightstand makeover.

I've been planning to fix them up for a while and thought the blue and pink would be a fun touch.
This project doesn't require much and is great for a beginner.

Supplies:
Furniture to be painted
Paint (I love using a spray for this)
Fabric (I prefer home decor weight)
Adhesive (Mod Podge, spray adhesive, glue, whatever you prefer)
Q-tips (only if you are painting the drawers)
Sand paper
X-acto knife

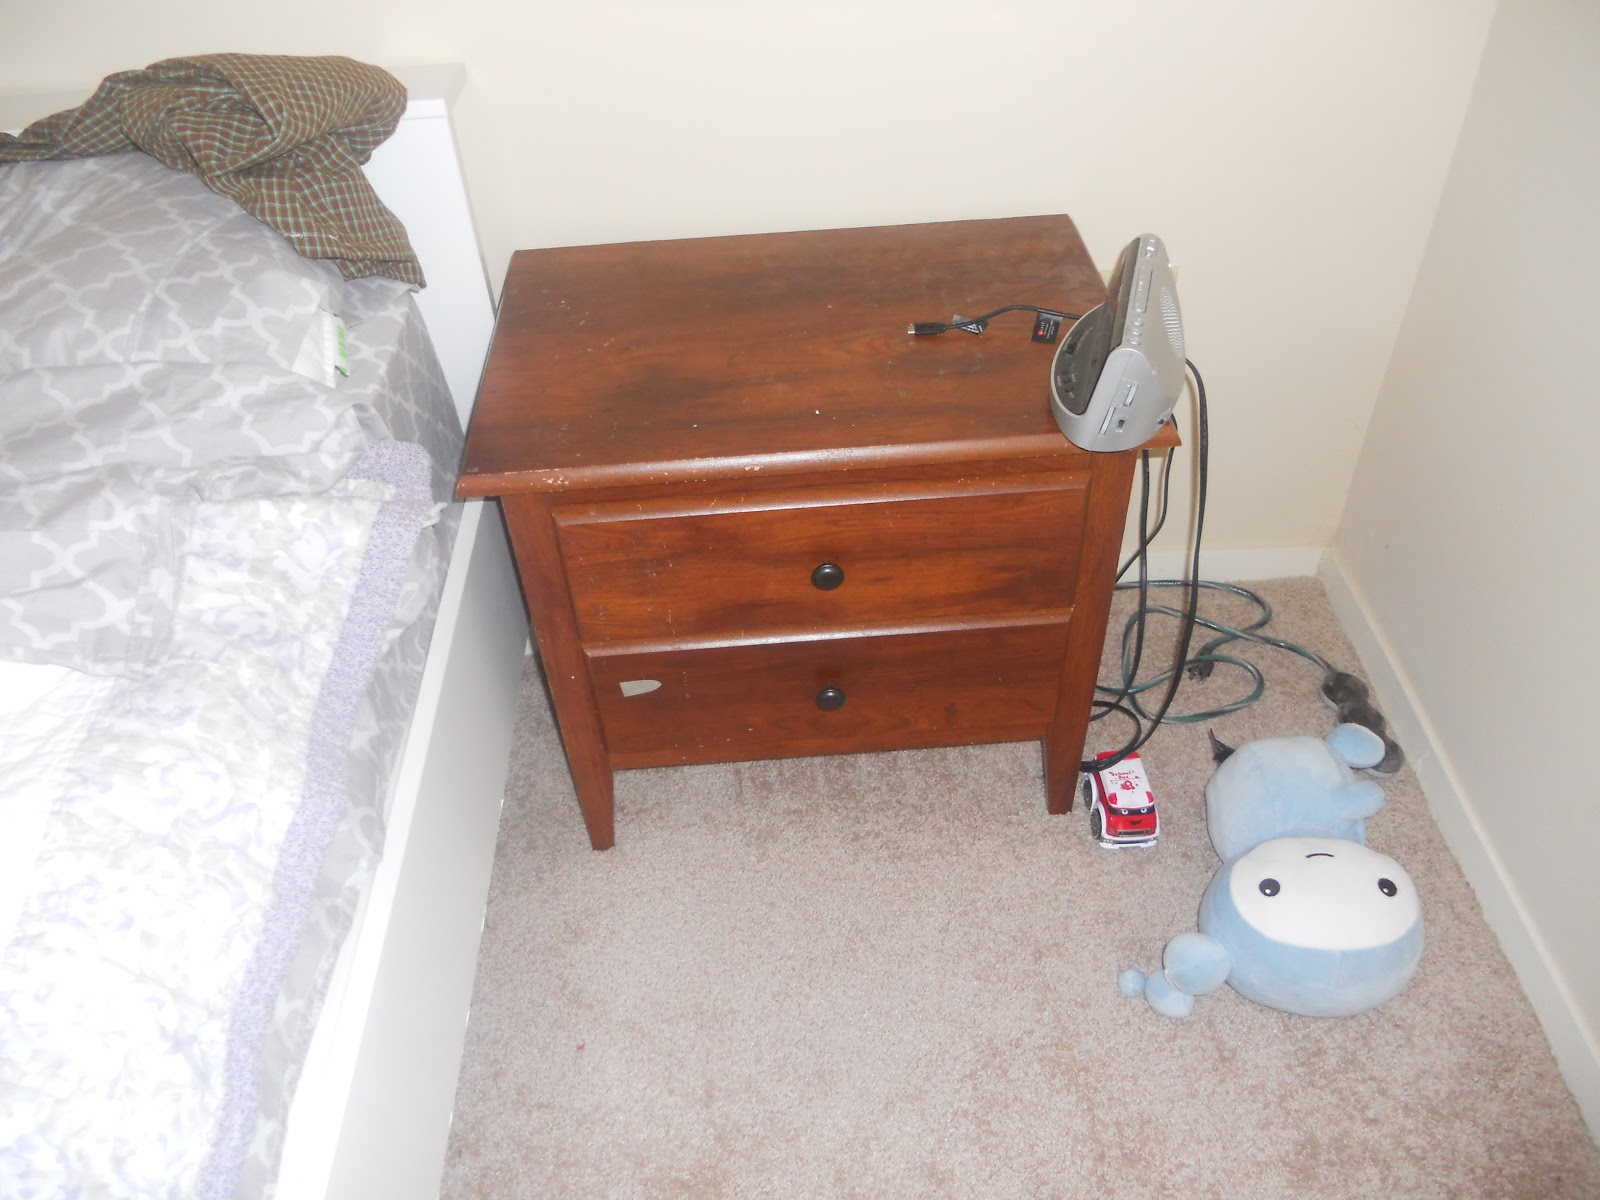
There was certainly a bit of water damage on these

Take the drawers out, knobs off and sand paper any rough spots or edges. Any bumps are going to show when it is painted.

If you are painting the drawers:
Stick Q-tips in the knob holes and the ends of the knobs (if you are painting them). This will prevent paint from closing the holes up.  Since my fabric has some white and I didn't want the dark wood to show through I painted the drawer front. 
We did a couple coats to completely cover the dark wood

Spray paint your pieces.  I also spray painted the knobs so we didn't have to buy new ones.
Let the paint dry.

You can add the fabric to the drawers while the paint is still a little tacky.  Cut the fabric a little larger than the drawers. Apply your adhesive, I chose to apply it to my drawer and then put the fabric on.  You can cut off the extra fabric or fold it around the edges.  I chose to cut the fabric off and make sure it had plenty of adhesive so it wouldn't peel away.

Once everything is dry, poke through the knob hole and make a small hole in the fabric.
Put the knobs back on and the drawers back in.

It's an easy weekend project that adds some personality to your furniture.
I love our his and hers nightstands. They really brighten up the room.

Wednesday, February 1, 2012

Don't throw away that plastic bottle

I love reusing things. I love Mod Podge. So when I found a tutorial that allowed me to put those 2 things together I was excited. 
Turn your lotion bottle in to a cell phone holder.  What a nifty idea.
I had to make one for visiting guests who always charge their cell phones in our kitchen plugs.  None of my lotion or baby wash bottles were empty so I used a baby powder bottle.

It worked well and provided me with space for my camera and charger. It makes those plugs on the kitchen counter so much more useful. Now I can use the plug in the corner and still reach my camera. As an added bonus I don't have to worry if the counter gets wet because my electronics are charger in their holder.
Fits perfectly above my vitamins

These would make great gifts and are easy to personalize. I used glow in the dark Mod Podge on mine for something extra fun.
How fun is that?

Friday, May 6, 2011

Personalized wipes containers

Wipes containers come in handy but boy are they ugly looking.  I found a great tutorial for sprucing them up and of course it includes Mod Podge (the fabric kind this time).
I love projects where I can use scrap fabric and this one was perfect. I even had a sample square of home decor fabric (Jo-Ann's sells them when a pattern is discontinued) that looked perfect with the yellow covered container we currently have.
The vibrant spring colors work well with the yellow top on the container.


What's great about this is I can refill them with any brand I want or even made my own reusable wipes and have them sitting in solution.  Plus it adds a personal touch to your home.
Keeping our elephants company.

Thursday, April 28, 2011

My second date with Mod Podge

Since our first date went so well Mod Podge didn't wait long before calling me for another date.  It showed me this spiffed up metal wastebasket and I had to try it. 

A couple extra tips that I didn't see on the page:
1: Make sure the paper is wide enough to fit around the entire pail even at the top
2: A wall paper brush will tear through wrapping paper
3: Covering a conical pail isn't as easy as it seems. We found (ok, Ben found) the easiest way to do it is to lay the bucket down on the paper and trace the shape on the top and bottom by rolling it back and forth on the paper.  The original pattern used a piece of paper 20" tall by at least 30" wide.  You end up up something like this:

4: Instead of putting the Mod Podge on the entire length of paper do it section by section. This will prevent bubbles and folds like I ended up with on my first try.
5: Go for a sturdy gift wrap otherwise you run the risk of tearing the paper.

I'm glad Ben was around to help me out with this otherwise I would have been insanely frustrated.
I want to make another one(Ben is giving me a dirty look now). Now that we understand the best way to do it the next one should look a lot better.  Ben tells me "for someone who loves handmade crafts you sure are a perfectionist."  I'm sure the bucket we covered is cute, I just see all the mistakes.  But don't worry, Mod Podge and I will get together again soon.

Monday, April 18, 2011

Oh Mod Podge where have you been all my life?

Why oh why did it take me so long to discover Mod Podge?  You come in so many varieties with different colors identifying each type.  With both my sewing machines (yes, I've acquired an embroidery machine) in their boxes I've been going through craft withdrawal.
I found this nifty ticket bowl tutorial that looked fun and easy.  I used the directions from one of the links to different ticket bowls.  Since I didn't want to wait for the tickets to arrive from Ebay I went and bought a roll of tickets from my local party store.

It was a little difficult pushing out the tickets into the bowl shape that I was happy with, but once that was done it was pretty simple. I used Glossy Mod Podge (the orange bottle) and put 2 coats on the inside and then  2 coats on the outside.    For the hole in the bottom I cut a circle out of card stock and another out of felt and glued them together then glued them to the bottom of the bowl. 

I have no idea what I'm going to do with the bowl.  I'm sure I'll find a use for it. Next time I'll get the ticket rolls from Ebay and go for some of the retro looking ones.